10th – 11th March 2021
Virtual Conference & Exhibition
euspen’s 14th International Conference and Exhibition on Laser Metrology, Coordinate Measuring Machine and Machine Tool Performance, (LAMDAMAP 2021) was planned to be held at KTH Royal Institute of Technology, Södertälje Campus, Södertälje, Sweden. In light of the COVID-19 pandemic, it has been decided to deliver this meeting as a “virtual online web-meeting”, to ensure the participants remain safely connected.
The 14th International Conference and Exhibition on Laser Metrology, Coordinate Measuring Machine and Machine Tool Performance, (LAMDAMAP 2021) will be organised by euspen drawing together many of the worlds distinguished scientists drawn from all areas of science, engineering and medicine. It embraces NEW TOPICS and a NEW FORMAT.
Advanced machine tool metrology supports superior part production; enabling, understanding and tracking of baseline performance machines. Whilst the trend towards nanometre level surfaces finishes and features progresses, matching both form and finish coherently in complex parts remains a major challenge.
This conference will take place in virtually and will focus on Metrology in New Fabrication Techniques; New Developments in Measurement Techniques; Novel Manufacturing Technologies & Machine Tools; Performance Evaluation for Machine Tools & CMMs; Roughness & Machine Tool Standards; Accuracy and Performance Evaluation of Industrial Manipulators; Integrated Metrology in New Fabrication Techniques and Machine Learning for Metrology and Precision.
The organising committee for euspen‘s 14th Lamdamap Conference and Exhibition is Prof. Andreas Archenti, KTH Royal Institute of Technology, SE; Prof. Liam Blunt, University of Huddersfield, UK; Prof. Andrew Longstaff, University of Huddersfield, UK and Prof. BG Rosén, Halmstad University, SE.
We understanding networking is the key to the success of euspen’s events, and whilst we have had to adapt this event and bring this to you virtually, we still hope the structure will allow our presenters and registrants to discuss issues of immediate relevance to the area of machine tool metrology. To stimulate such cross fertilisation of ideas and experiences, we have incorporated an extended coffee break at the end of each oral session to allow for an interactive discussion with presenters and all registrants alike.
The production of more and more accurate and smaller and smaller components relies and indeed is underpinned by advanced machine tool metrology, which facilitates the assessment of performance of machines. This requirement becomes more pressing as the drive in industry towards the greater use of nano-scale surface finishes and features gathers pace. It is vital that form and finish is produced consistently in small complex parts, and it is here that the key challenge for advanced metrology solutions exists today.
The extended coffee breaks allocated for discussing presentations, will allow for the transfer of knowledge bringing the next generation of manufacturers to incorporate available advances in measurement techniques to meet tomorrow’s specifications.
Conference Themes
Submission Guidance
When using the online paper submit abstract button (below) for submitting your full paper or extended abstract, you will be requested to create a profile which is separate to your euspen membership profile information. Once you have completed your profile you will be required to upload your file.
Note to authors who have already submitted a short abstract. The reviewers comments can be seen by logging into your submission profile page and clicking on ‘View Abstract Status’. Your full paper submission can then be uploaded using ‘Paper Submission’ file as this will then link your previous submissions.
For this virtual conference euspen are happy to accept either extended abstracts or full papers. Both papers will be reviewed by the International Scientific Committee and awarded either an oral or poster presentation.
Short Abstract Submission
Abstracts are expected to describe original work, previously unpublished and should indicate new and significant advances and their importance. Initially short abstracts comprising of approx. 300 words in length should be submitted online using the template provided.
Following review of short abstracts, authors will be provided with instructions for submitting a full paper.
Full Paper Submission
Submitted papers should be a maximum of 10 pages of A5 (as per the above template). Papers are expected to describe original work, previously unpublished and should indicate new and significant advances and their importance. Papers must be submitted in WORD or PDF format using the template provided.
On acceptance of the paper, authors will be notified and provided with instructions for presentation (oral/poster).
Extended Abstract Submission (Poster Presentation)
Extended abstracts should be a maximum of 4 pages of A5 (as per the above template). Extended abstracts are expected to describe original work, previously unpublished and should indicate new and significant advances and their importance. Abstracts must be submitted in WORD or PDF format using the template provided.
On acceptance of the extended abstract, authors will be notified and provided with instructions for presentation (oral/poster).
Key Dates
14th November 2020 : Short Abstract Submission Deadline
11th December 2020 : Paper Submission Deadline (Full & Extended)
7th January 2021 : Scholarship Application Deadline
11th January 2021 : Delegate Registration Opens
22nd January 2021 : Notification of Presentation Award (Oral/Poster)
22nd January 2021 : Student Scholarship Notification
Lamdamap Registration Fees
Virtual Delegate Registration
The 14th International Conference & Exhibition of Lamdamap, will take place as a virtual meeting.
The euspen virtual meeting complies with international VAT/IVA/VAT MOSS rules and as such the relevant Standard VAT dependent upon your Country (UK or EU) will be applied to delegate registration invoices. You should read the following rules and select Delegate Registration A or B dependent on which category you are in.
Select Delegate Registration Form A if any of the following applies:-
- You are based within the UK or Europe
- You are a private individual
- You are representing a European company that is not VAT/IVA registered
- This form will apply VAT according to your own Country (UK or European). Please note your VAT rate will be correctly applied once you have selected your country from the billing information screen.
- During busy periods it takes a little time for the form to load. Please be patient.
Select Delegate Registration Form B if any of the following applies:-
- You are representing an organisation which is VAT registered in another EU country and you are able to provide your VAT/IVA registration number
- You are representing a business outside Europe
- This form does not apply VAT. This is in accordance with reverse EU VAT rules or you are VAT exempt
Keynote & Invited Presenters
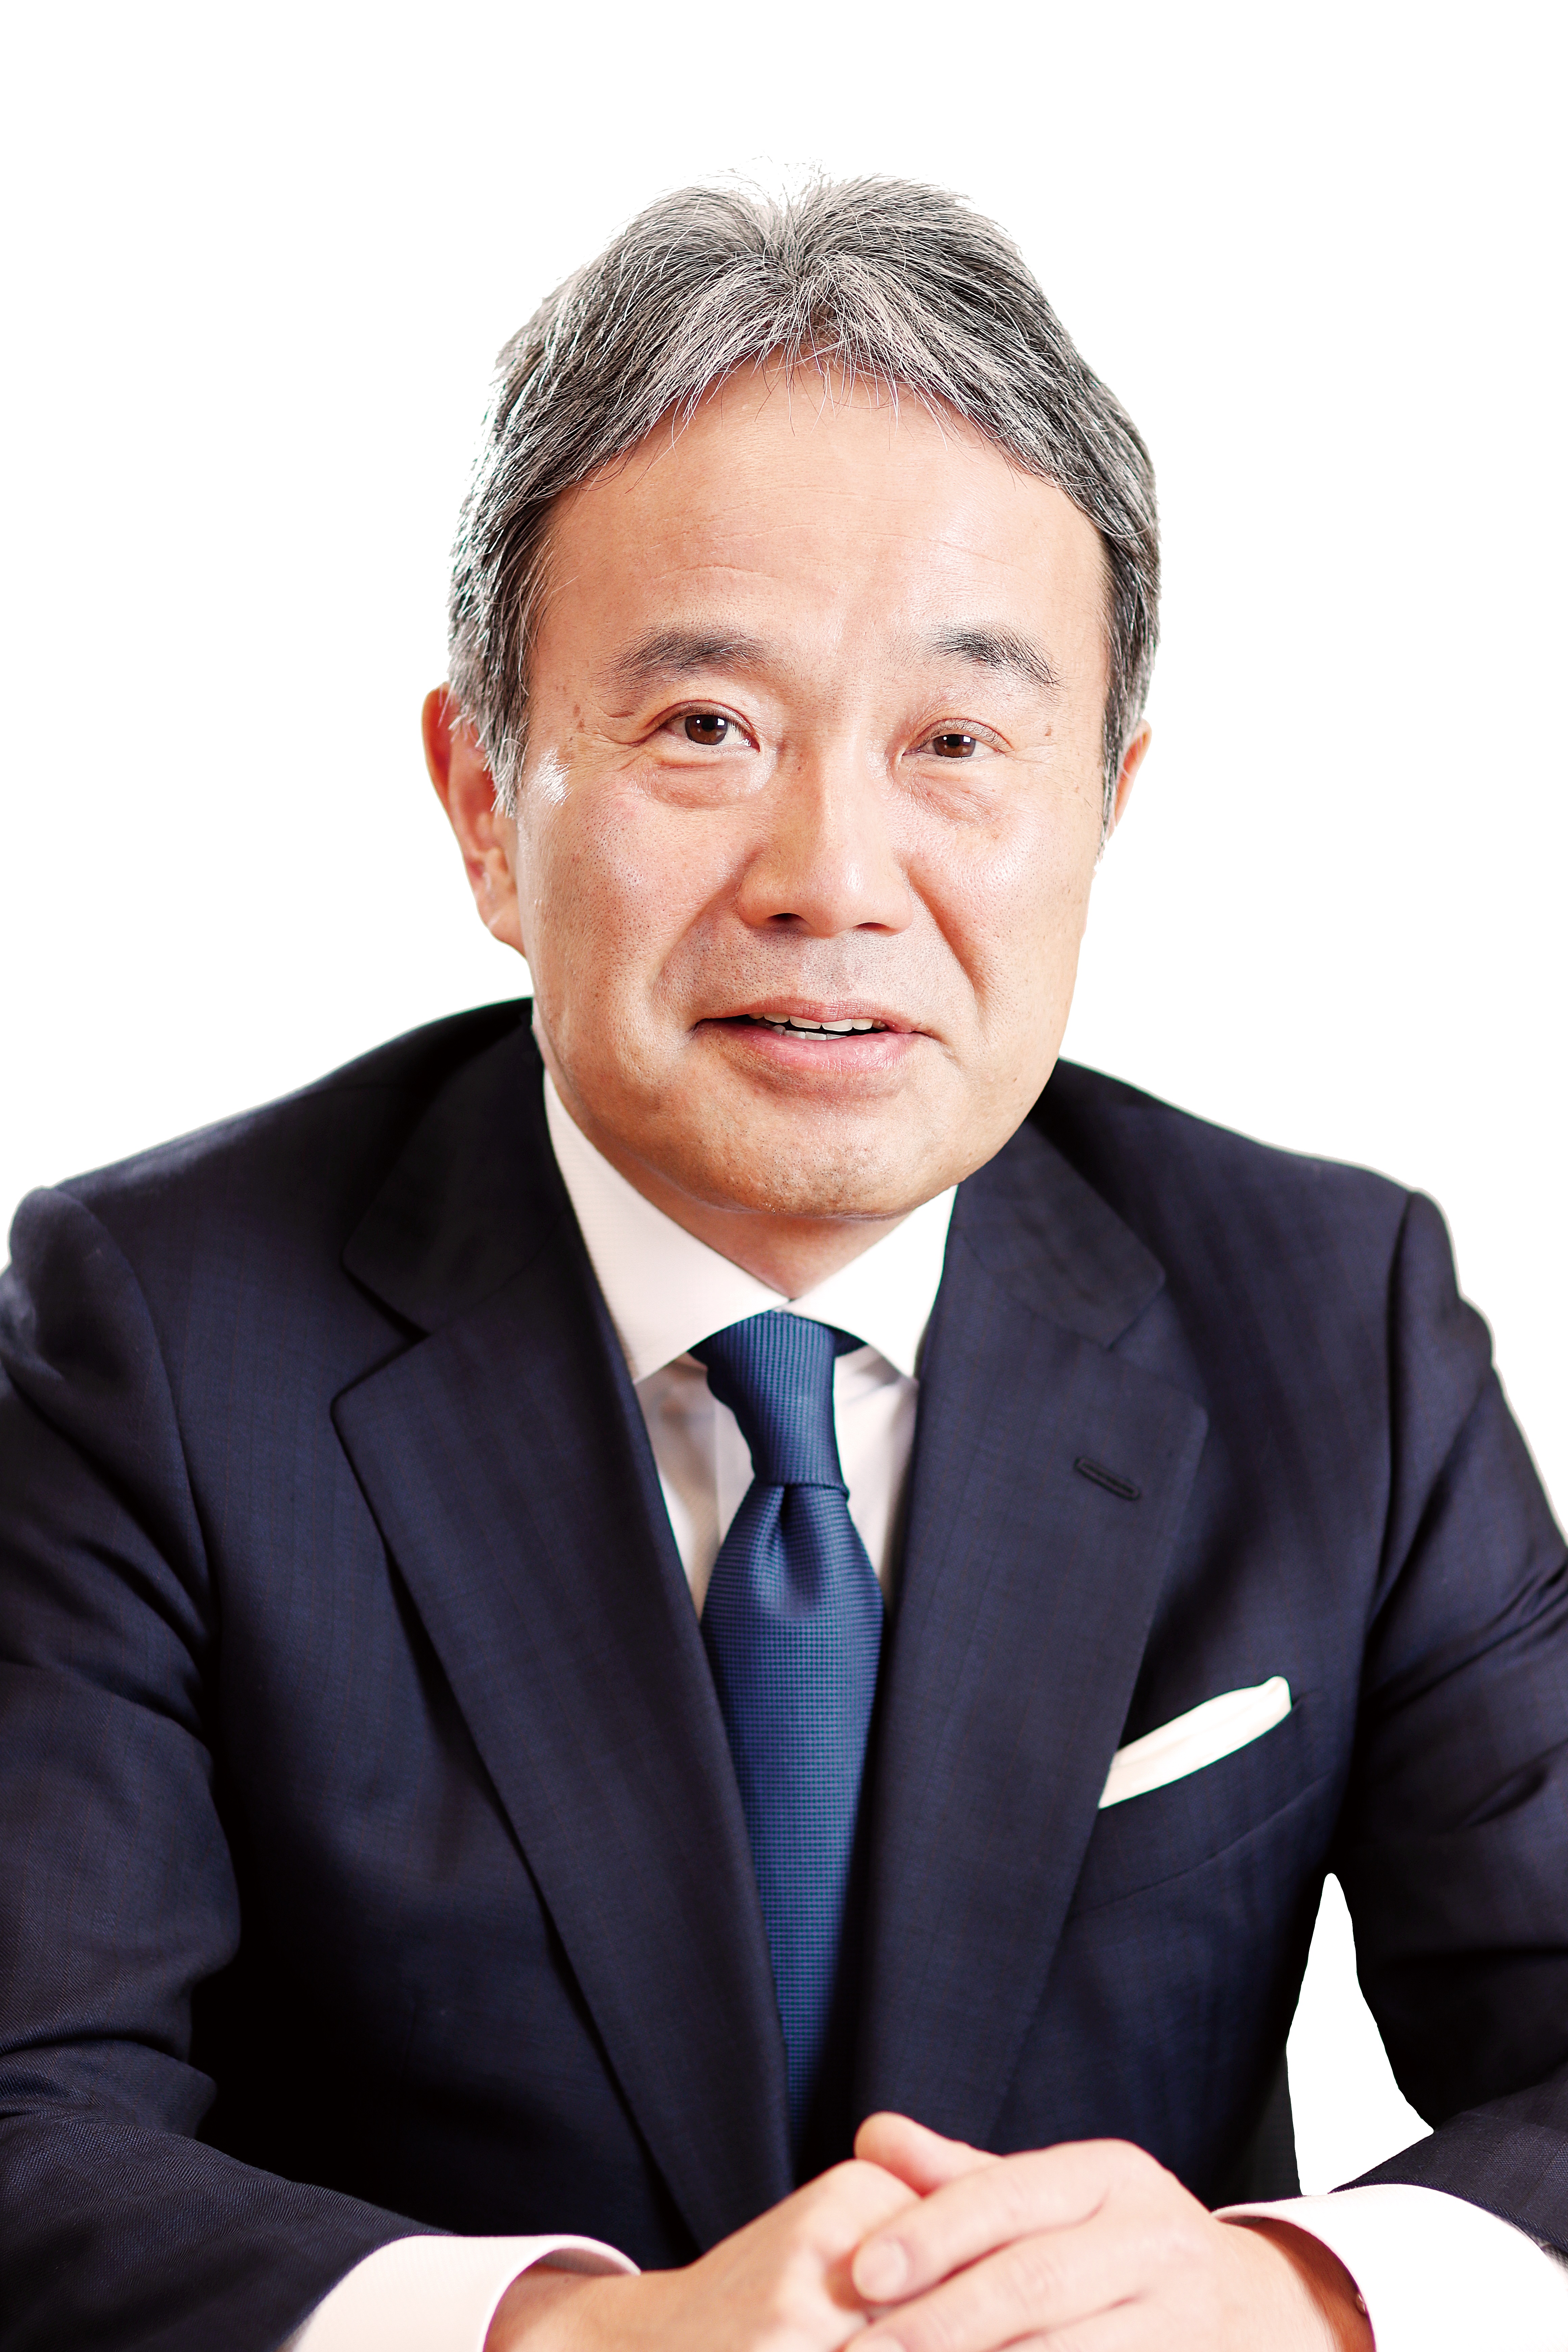
Dr Masahiko Mori
DMG MORI, JP
The future of global manufacturing and machine tool industry
In the field of manufacturing, optimized machining process and its highly-operable surroundings are the main drivers to maximize the whole productivity.
For decades, machining process has been improved in the course of the development of 5-axis or multi-axis machine tools as well as the process integration into single machine tool. It has now come to the era of automation and digitization, supported by the growing global demand for skilled operators, which is capable of unmanned operations and continuous monitoring, analysis and thus improvement of the process.
This presentation shows how the global manufacturing and machine tool industry have been changing, and how DMG MORI plays a role of a machine tool manufacturer who enables its customers worldwide take part in the continuous circle of productivity improvement.
Biography
Dr Masahiko Mori was born in Nara, Japan in 1961. After studying mechanical engineering at Kyoto University, Japan, he worked at ITOCHU Corporation as a salesperson of textile machineries and advanced composite materials for 8 years. Since 1999 when 37 years old, he has been president of Mori Seiki Co. Ltd. He got Dr. Eng degree from the University of Tokyo in 2003. Since 2009 collaboration began with Gildemeister in Germany and in October, 2013, both companies integrated their names to further strengthen the “DMG MORI” brand name.
Since May 2018, he has been Chairman of the Supervisory Board, DMG MORI Aktiengesellschaft.
Dr Mori serves as President / CEO of DMG MORI Group. He also serves as the Vice-President of the Japan Machine Tool Builders Association (JMTBA), fellow of International Academy for Production Engineering (CIRP), Board member of Kyoto University Innovation Capital, specially appointed Professor of the Graduate School of Advanced Leadership Studies, Kyoto University.

Prof. Patrick Keogh
University of Bath, UK
Metrology enabled robotic machining
Serial-link industrial robots are relatively inexpensive systems that have large working volumes. They are used for many manipulative tasks, particularly those that are repetitive and do not depend on fine precision. Limitations arise from revolute joint backlash, friction and low stiffness, which induce nonlinear dynamic effects. Control using internal encoders is not generally effective for precision robotic machining, both for absolute positioning and relative surface finish. The robot control is generally of low bandwidth (< 10 Hz) and not able to compensate for higher bandwidth dynamics induced by machining processes. It is possible to compensate for positioning errors by introducing external metrology, for example, using a laser tracker to monitor a tool path and providing additional feedback to the robot controller. Higher frequency compensation of machining processes requires additional actuation that is mobile with the robot motions. External inertial actuators close to the machine tool may be used to apply compensating dynamic forces. Laser tracker feedback of displacement signals may be adequate if vibration levels are within resolution, otherwise displacement roll-off with frequency may be covered by accelerometer signal feedback. The keynote will also address control strategies that are effective for such external metrology in reducing machining errors.
Biography
Patrick Keogh is a Professor in Machine Systems in the Department of Mechanical Engineering at the University of Bath, UK. He obtained undergraduate and PhD degrees from the universities of Nottingham and Manchester, respectively. Following 8 years of industrial employment in the Technology Research Centre of Alstom working on large and small-scale systems, he joined Bath. He has led research into the active control of rotating machines, which resulted in convenorship of the ISO/TC 108/SC 2/WG 7 Committee on the measurement and evaluation of rotating machines. Metrology-based research has been associated with the UK EPSRC-funded ‘Light Controlled Factory’ project and the ‘Future Advanced Metrology Hub’. He undertakes research in flexure-based robotics and has initiated research into novel dielectric elastomer structures for actuation and sensing. He has collaborated with BOC Edwards, Goodrich, Delphi Systems, Airbus, United Technologies and GKN Aerospace. He was elected a Fellow of the RAEng in 2010.
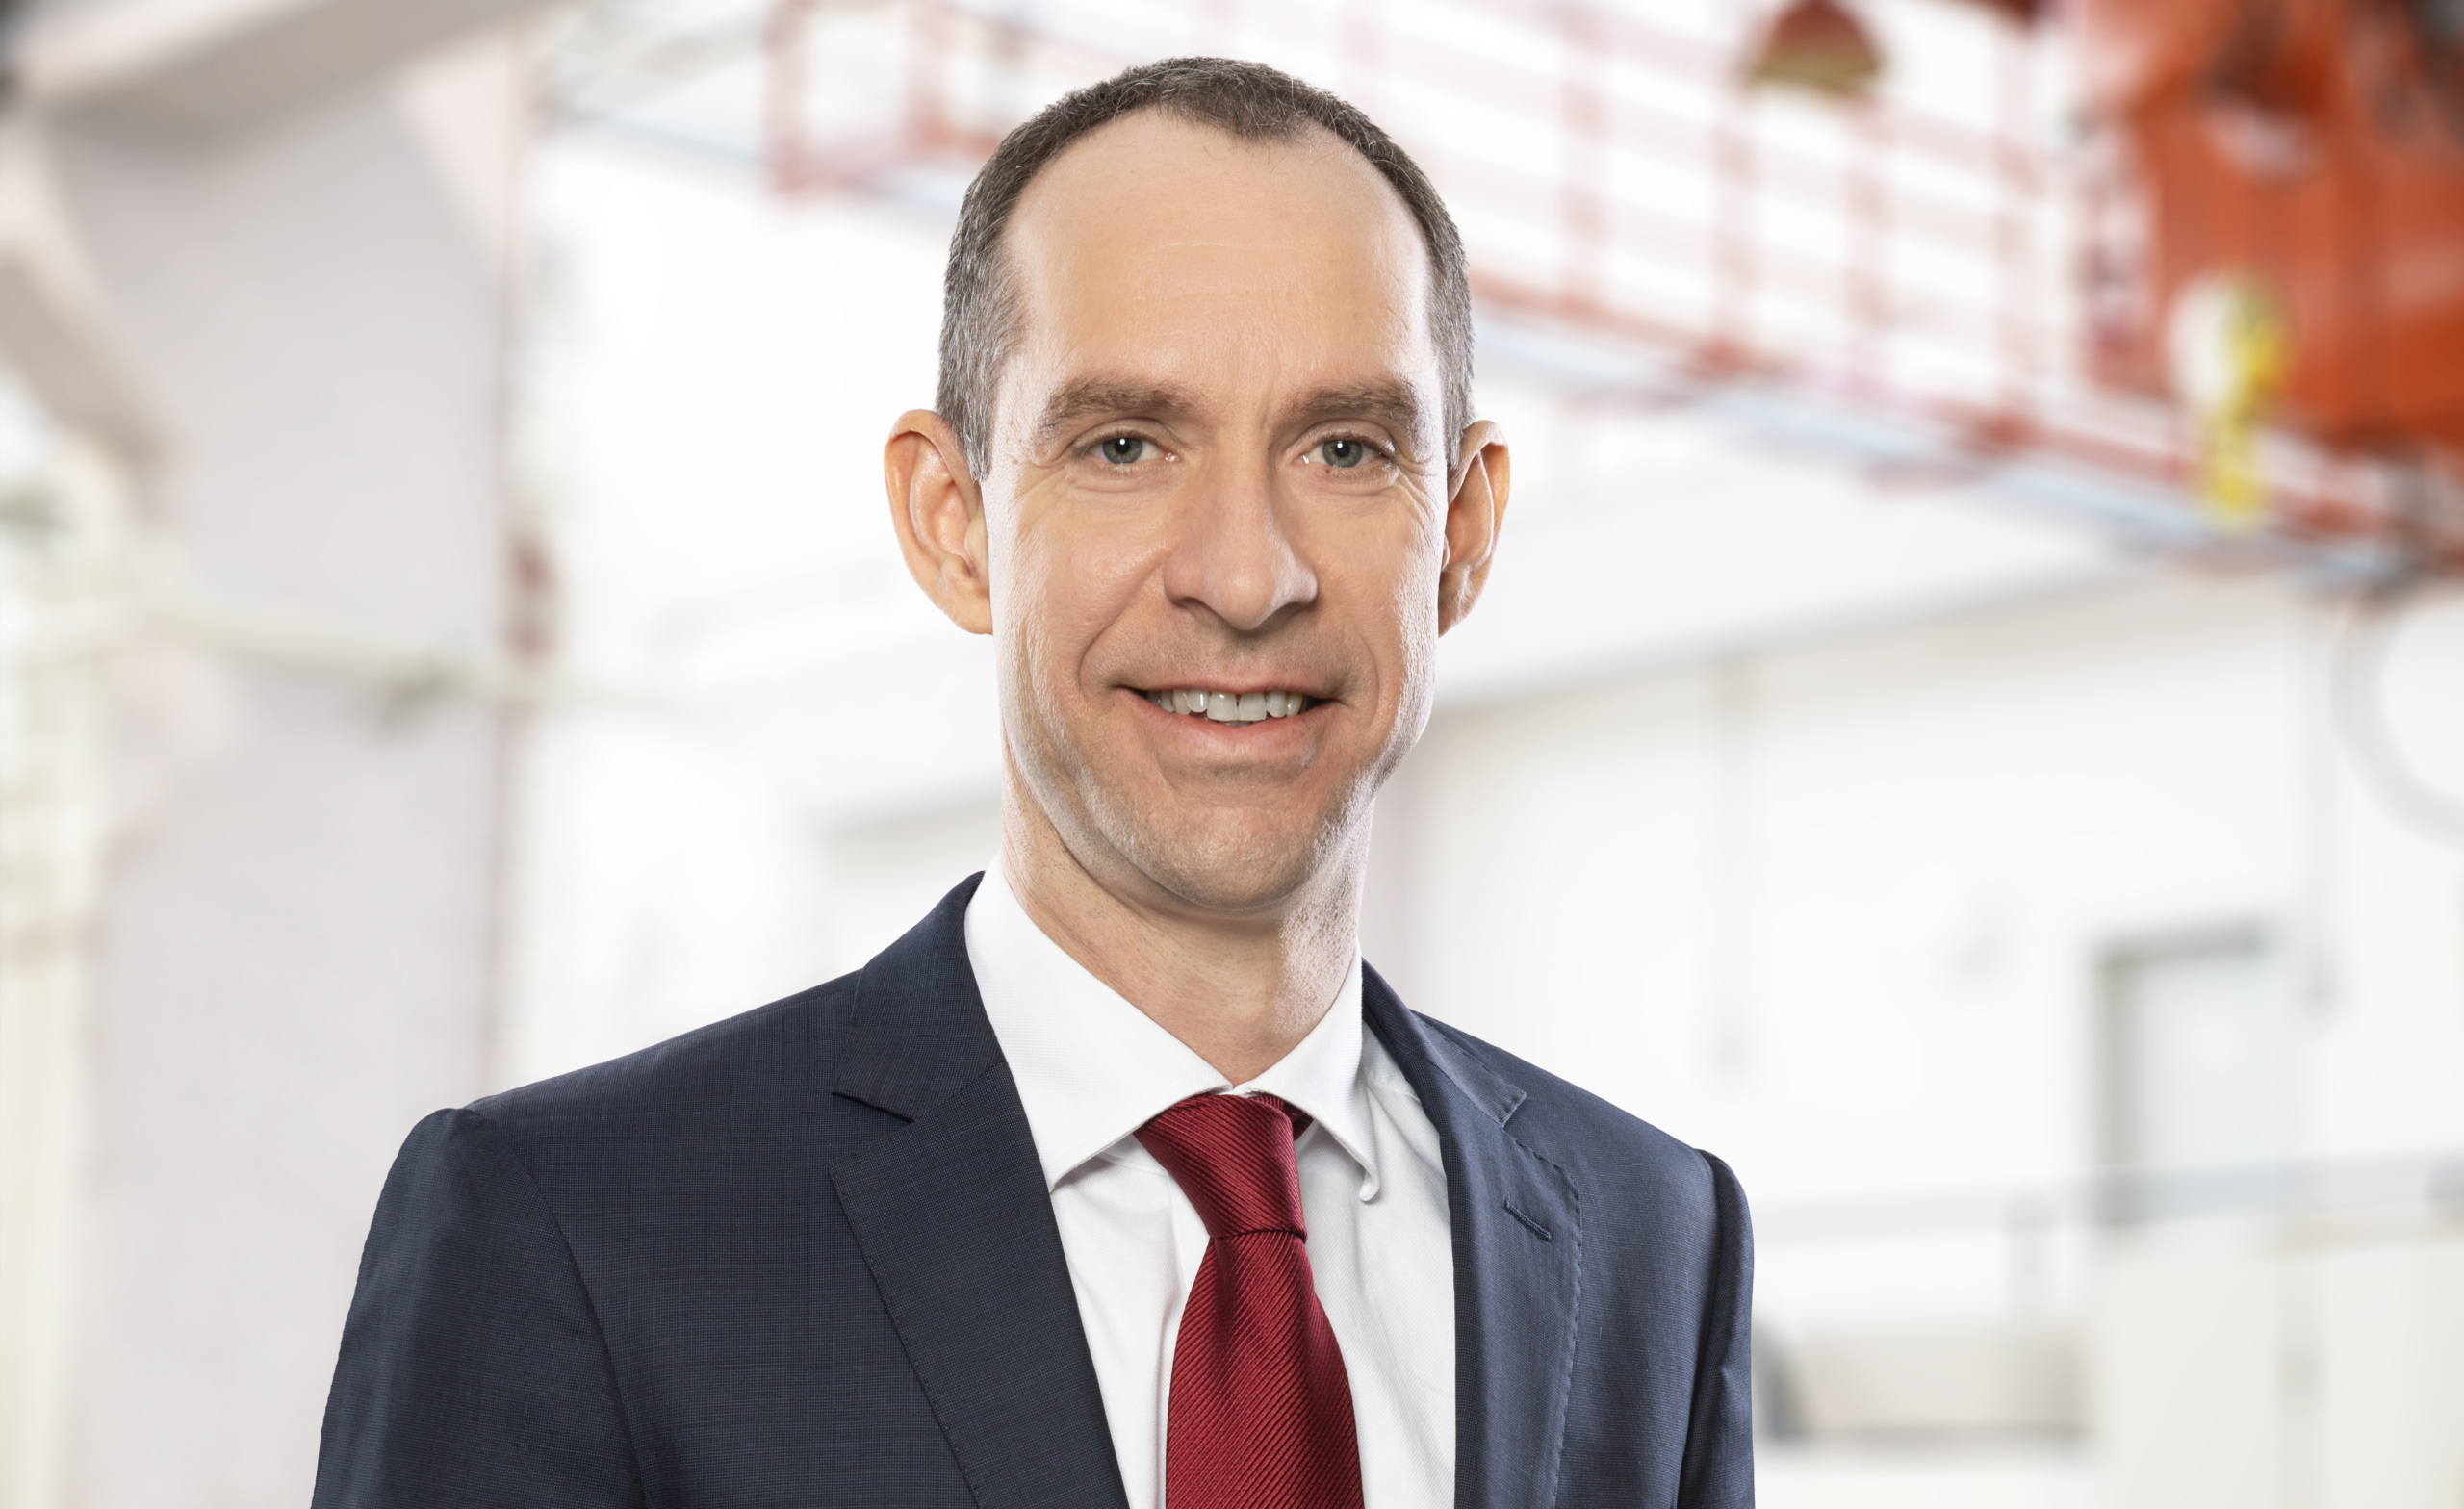
Prof. Dr.-Ing. Steffen Ihlenfeldt
Fraunhofer Institute for Machine Tools and Forming Technology IWU, DE
Correction of thermo-elastic errors in machine tools – How digital twins help to minimize TCP deviations
A central goal of machine tool development is to improve manufacturing productivity and accuracy. Increasing the productivity usually causes larger heat input into machine structures, which deforms them thermo-elastically, and subsequently, reduces machining accuracy. The speech discusses a digital-twin based correction method, which uses a computer model to calculate the thermo-elastic errors at the Tool Center Point (TCP) based on current data from the control system and ambient temperature sensors. Finite element machine models describe the machine structure, the structural variability due to traverse movements of the feed axes, and physical relationships. Model-order-reduction methods enable process-parallel computation of high-resolution models in thermal real-time. The machine models need constant updating; new methods allow identifying larger structural models by condensing parameters to a minimum. Volumetric correction in the control system reverses numerically predicted thermo-elastic errors at TCP in the workspace. Photogrammetric measurement systems verify the correction results. The talk concludes with the implementation of all measures in a conceptual machine tool at Technische Universität Dresden.
Biography
To view Prof. Dr.-Ing. Steffen Ihlenfeldt’s curriculum vitae and publications please click here.
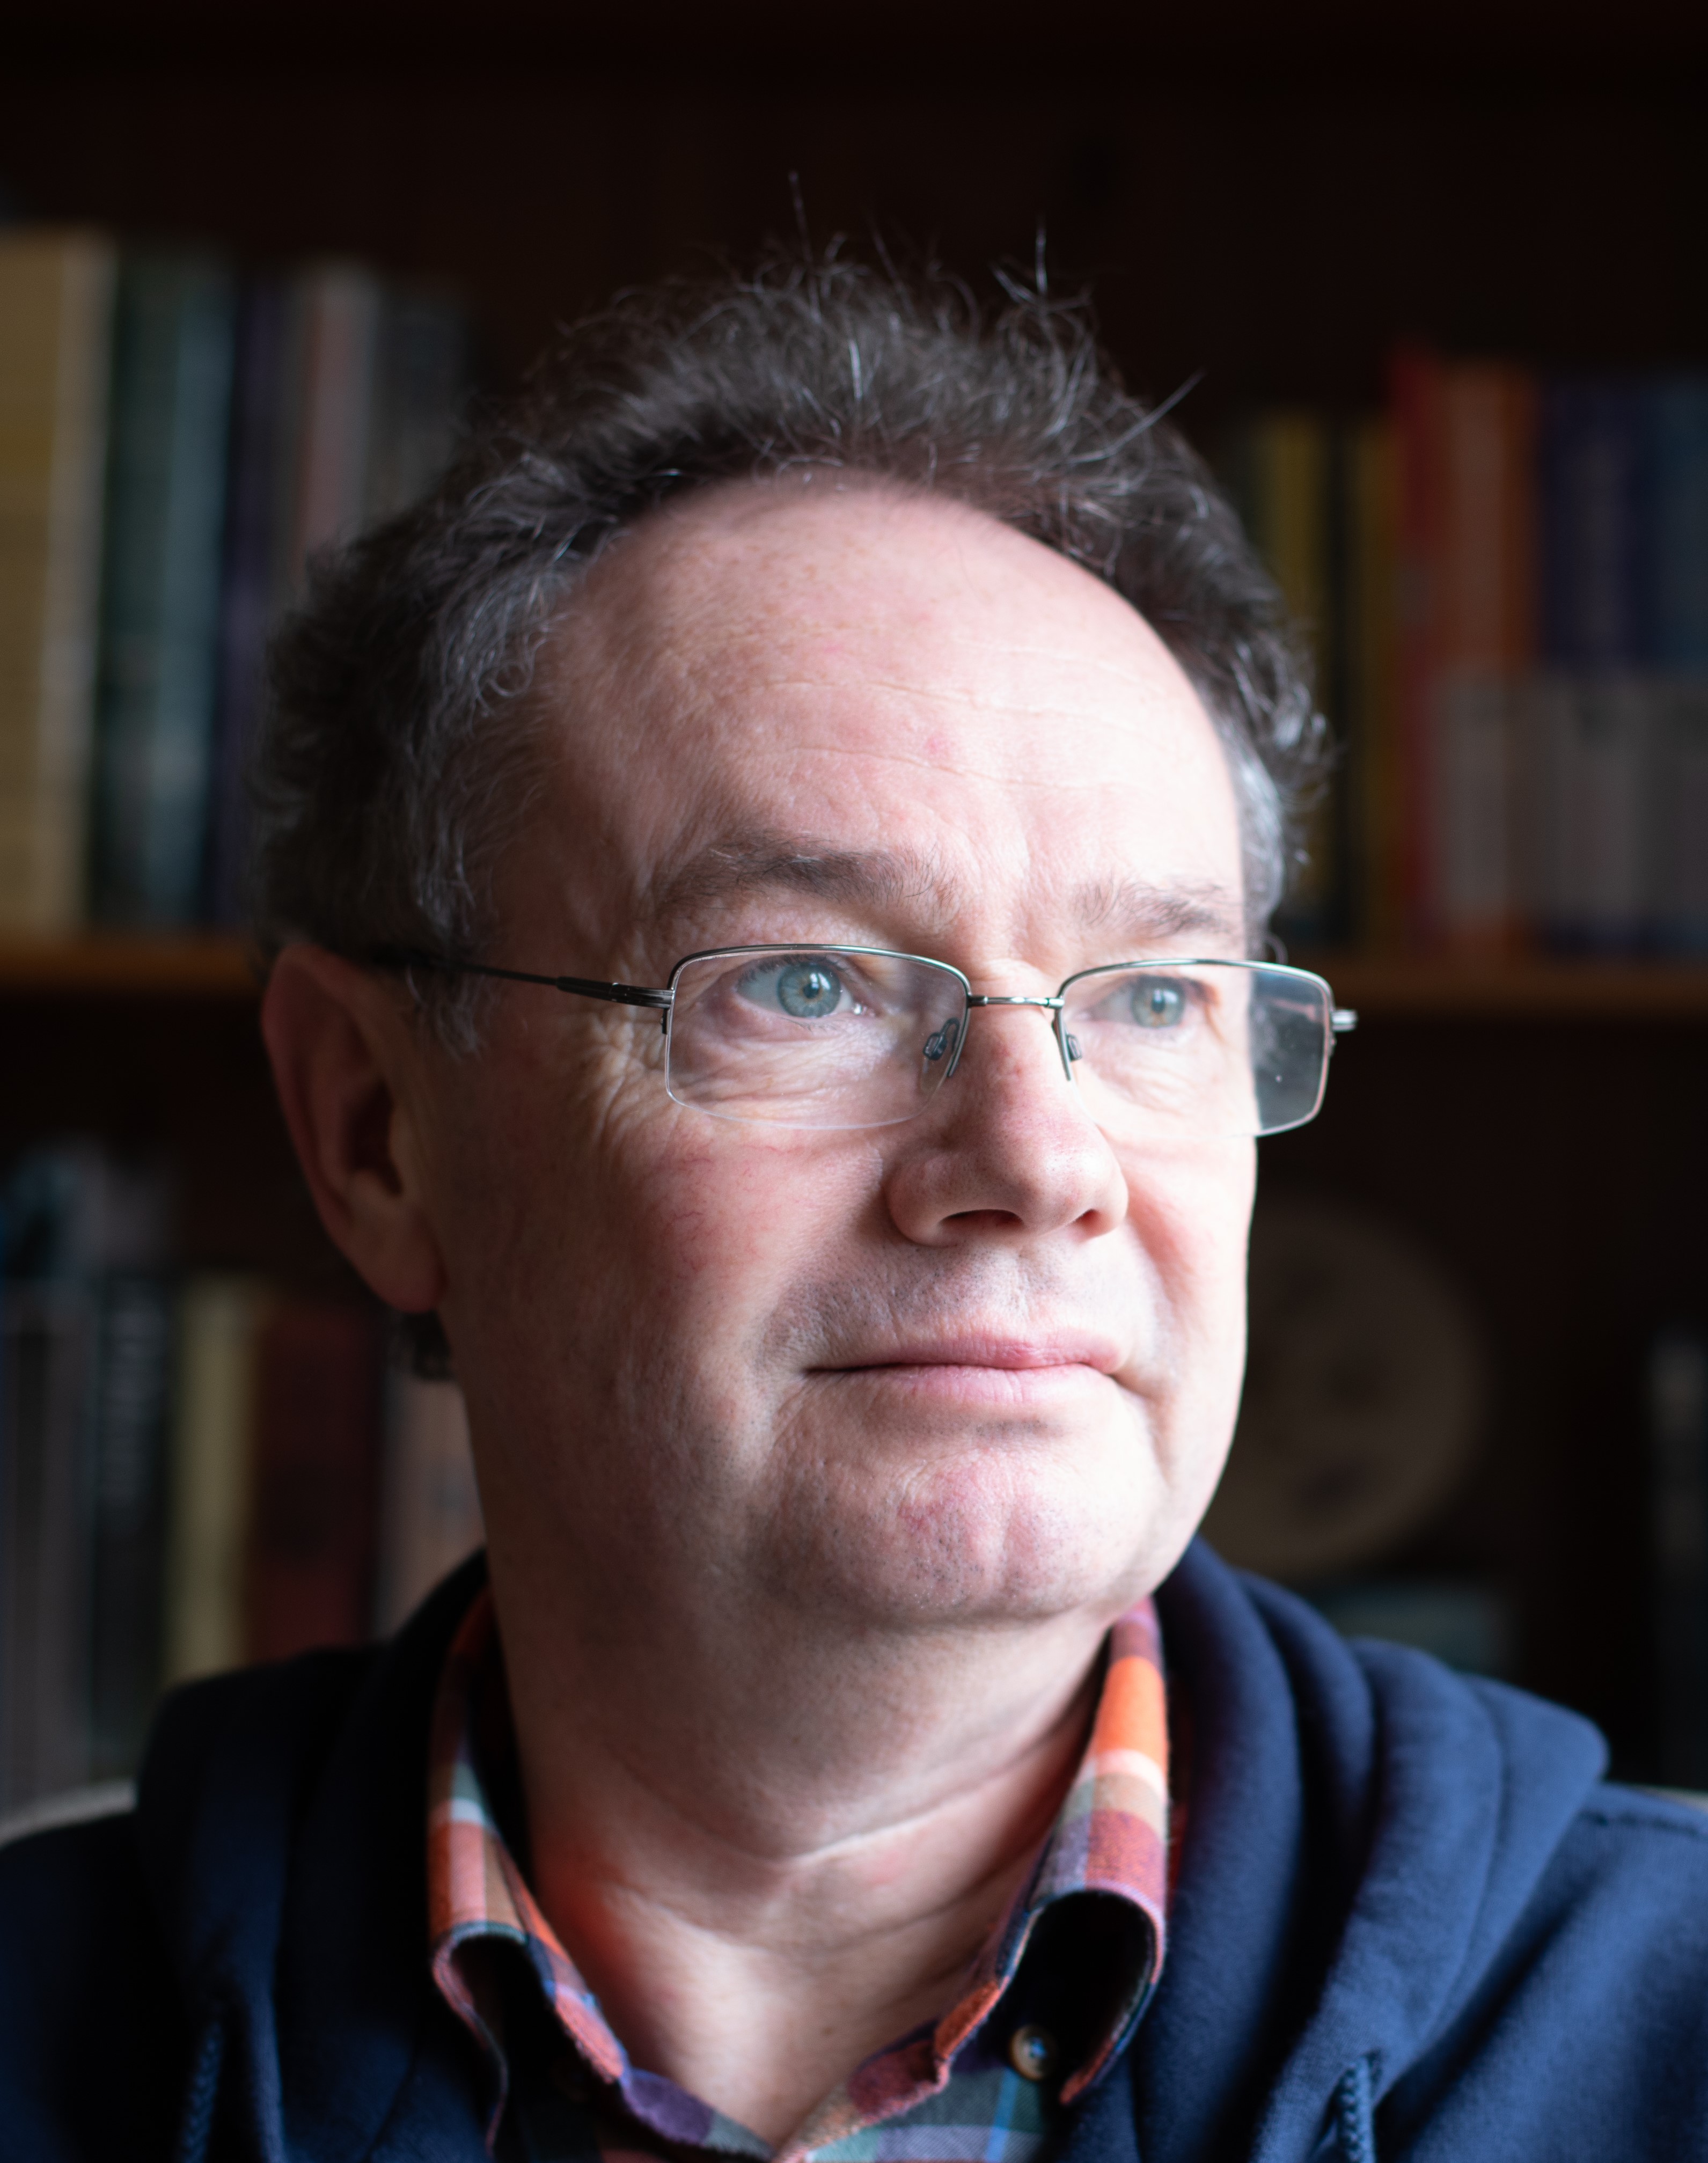
Ian Laidler
Wayland Additive, UK
Additive manufacturing with electrons
Electron beam additive manufacturing was introduced as a process over 20 years ago, along with its competing technology selective laser melting. Both have advanced and developed in that time. These two technologies offer the user something different. Wayland is a new entrant to the metal additive market, offering a 3rd way, with a new technology “NeuBeam” that has electron beam melting at its core. Wayland have started a fresh and developed the technology from the ground up. This paper looks at electron beam AM / NeuBeam from a machine builder’s perspective as well as the users’ perspective, sharing the fundamental aspects of the technology to the realisation of a manufacturing process. The inherent advantages of the technology are mapped through to end use benefits, such as productivity, controllability, flexibility and quality assurance. Electron beam AM is one of the tools in the additive manufacturing tool set, but one that is less well known. Development of NeuBeam by Wayland Additive will be presented and its implications for the user will be discussed.
Biography
Ian is a Physicist and Engineer with 30 years of experience directing complex technical developments of high value capital equipment for the semiconductor and medical industries. He has worked on diverse projects ranging from the development of a superconducting electron synchrotron for the X-ray Lithography program; superconducting proton cyclotrons for PET scanners; X-ray beamlines for the world’s third generation synchrotrons; and electron beam lithography systems for the semiconductor and nanotechnology industries. Throughout these programs he has been responsible for co-ordinating high performing teams and delivering equipment to the demanding semiconductor standards.
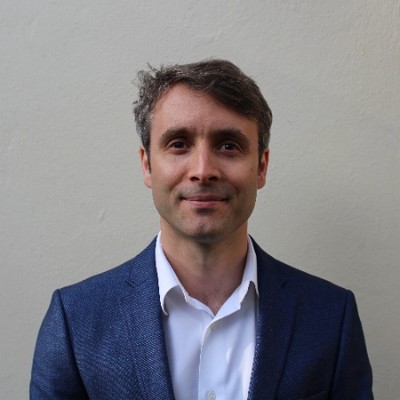
Dr Tom McLeay
Sandvik Coromant, SE
Enabling technologies for data and knowledge driven software services in manufacturing
At Sandvik Coromant we have a long history of supplying cutting tools and face-to-face application knowledge to customers. In today’s world, more and more knowledge is delivered remotely and digitally. Our approach to this is to build intelligent software services that ensure our customers and our tools are the most productive they can be. We believe that this objective can only be achieved by combining advanced sensing, computer intelligence and machine knowledge.
Biography
Dr Tom McLeay is based in Stockholm working in Sandvik Coromant as the R&D Manager for Digital Machining. In his role, Tom is responsible for several product development teams that form Sandvik Coromant’s CoroPlus Offer – an area that ranges from sensorised tools to cloud software solutions.
Tom joined Sandvik in 2019 from his previous position as Head of Machining Research at the Advanced Manufacturing Research Centre in Sheffield, UK. Previously he has worked as an application engineer for aerospace machining and a researcher in the area of process monitoring and control. He has a PhD in Unsupervised Monitoring of Machining Processes.

Shawn Moylan
National Institute of Standards and Technology, US
Machine performance evaluation for metal additive manufacturing
A qualified additive manufacturing (AM) part will only come from a qualified AM machine, and machine qualification requires machine performance evaluation. Although additive manufacturing is a relatively new process and machines are continually changing, the test methods used in their performance evaluation can leverage expertise developed in other areas, especially machine tool metrology. Performance evaluation can take several approaches, from building and measuring a test artifact, to evaluating individual machine components, to a combination or hybrid approach. Best practices specific to additive manufacturing machines are currently under development and evaluation, but much is already known. This presentation will discuss ongoing work on this topic at the National Institute of Standards and Technology, with a particular focus on laser powder bed fusion AM machines.
Biography
Shawn Moylan is a Mechanical Engineer and Program Manager at the National Institute of Standards and Technology. His research career has focused on precision measurements of manufacturing equipment, ranging from micromachining to multi-axis coordinated motion, and, more recently, to additive manufacturing machines. He is an internationally recognized leader in the advanced manufacturing standards community, especially ASTM Committee F42 on Additive Manufacturing Technologies, ISO/TC261 Additive Manufacturing, and ASME Council on Standards and Certification. He is also on the advisory board for the Additive Manufacturing Standardization Collaborative, a joint effort among ANSI and America Makes.

Massimiliano Ferrucci
National Institute of Standards and Technology, US
Dimensional measurement traceability by X-ray computed tomography – where are we?
Long synonymous with medical imaging, X-ray computed tomography (CT) is proving its worth in industrial applications such as material characterization, defect analysis, and dimensional inspection, e.g., of additively manufactured components. Since 2005, when the first purpose-built industrial X-ray CT instrument was made commercially available, there have been significant efforts to understand just how reliable dimensional measurements by X-ray CT are. In metrology, the ultimate measure of confidence is metrological traceability—a clearly-defined but often not well-understood property of a measurement result. Metrological traceability places measurements on a comparable scale and provides a quantitative indication of measurement quality in the form of an uncertainty statement. In this keynote presentation, we provide a high-level discussion about traceability of X-ray CT dimensional measurements to the SI unit of length, review relevant work in empirical determination of X-ray CT measurement uncertainty, and propose a framework for model-based uncertainty assessment and instrument scale calibration as a unified approach to traceability.
Biography
A recent (2018) graduate of the Katholieke Universiteit Leuven, Massimiliano Ferrucci has over 11 years of research experience in dimensional metrology, spanning several measurement technologies from gauge block comparators to optical coordinate measuring systems and X-ray computed tomography (CT). In the Production Systems Group at the National Institute of Standards and Technology (NIST), Massimiliano’s research focus is on the optimization of X-ray CT measurements for qualifying metal additively manufactured (AM) parts and the establishment of dimensional X-ray CT measurement traceability to the SI unit of length—the meter.

Mark Stocker
Cranfield Precision, Division of Fives Landis Ltd, UK
Recent developments in freeform grinding for large EUV lithography optics and head-up display mirrors using a bespoke tool path generation package, MöbiusCAM
Fives, through its R&D centre, Cranfield Precision, Division of Fives Landis Ltd, has recently developed two machines currently being deployed in the manufacture of high precision optics.
A large grinding machine capable of grinding off-axis optics up to 1.6 m (OGM1600) has recently commenced production grinding of large mirrors for extreme ultraviolet (EUV) semiconductor wafer lithography systems. A novel machine concept known as the Twin Turret Grinder (TTG) is being used to develop new manufacturing methods for head-up display mirror molds. Both machines use our custom tool path generation software, MöbiusCAM.
MöbiusCAM uses a step-by-step wizard interface to facilitate the programming of both machines for the grinding and in-situ measurement of complex geometries. The software can also be used to import, analyse and manipulate measurement data from third party, off machine metrology systems. The software is highly flexible and can be made compatible with any machine configuration.
Typical data inputs include, machine axes configuration, including axis limits, tooling available for machining, the surface to be processed and operations to be performed, e.g. freeform spiral, raster, edging etc. Tool paths can be modified to compensate for measured surface errors and rapidly converge on the required form accuracy. For the given required surface geometry and machine, inverse kinematics calculations produce the appropriate machine motions. Conversely, machine axes position data logs (produced during grinding and including logged error motions) can be used to compute the tool position during grinding in order to predict the actual profile ground during machining cycle.
The presentation will include an overview of MöbiusCAM and some recent results from OGM and TTG machines.
Biography
Mark Stocker is the CTO of Fives’ Grinding – Ultra Precision Business Unit’s R&D group, which was formed in 2019 out of Cranfield Precision, a world leader in the design and manufacture of ultra-precision machine systems.
He has 45 years of professional engineering experience, with over 30 years in the precision engineering field. In 1989, he received his master’s degree in Machine System Design at Cranfield University and following graduation joined Cranfield Precision. In 2000 Mark joined Corning Incorporated’s Precision Machine Systems Group, based in Corning NY. In 2006, he was promoted to Development Associate in recognition of his ‘outstanding scientific contributions’ to the company.
In 2007, Mark re-joined Cranfield Precision and in 2010 became Division Manager.
He is a Fellow of the Institution of Mechanical Engineers, an active member of euspen and ASPE.
Mark has been responsible for the design of ultra-precision grinding, turning, inspection and dynamic calibration machine systems, resulting in over 150 granted patents worldwide for around 45 independent inventions.
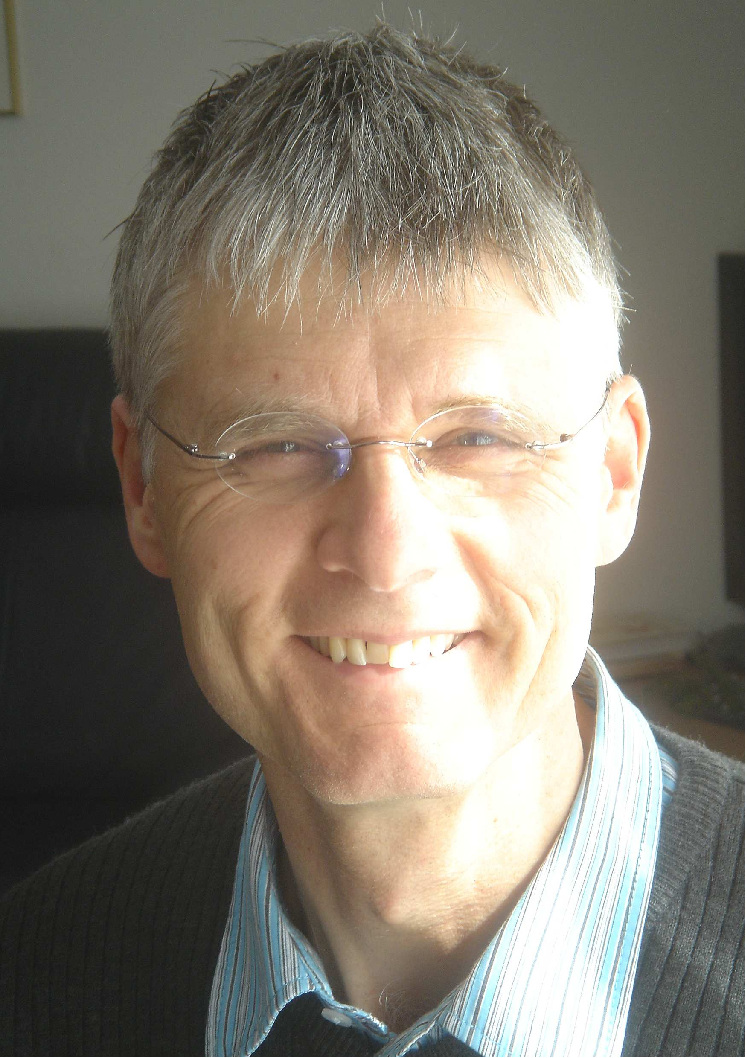
Dr Wolfgang Knapp
Engineering Office, CH
Standards for machine tools, an update
This is a report on standards activities within ISO/TC 39, machine tools, since the last update presented during Lamdamap 2017. Furthermore, the report contains current standard projects, i.e. standards and technical reports currently under development.
Biography
To view Dr Wolfgang Knapp’s curriculum vitae please click here.
Commercial Presenters

Mark Stocker, Fives Landis Ltd – Cranfield Precision, UK
For more information about Fives Landis Ltd – Cranfield Precision, visit: www.fivesgroup.com

